


Rock climbing has a straightforward ask: show up with the right gear, the right clothes, and a plan that matches where you are in your progression. Whether you’re heading to an indoor gym for the first time or preparing for your first outdoor lead climb, what you bring and how you train shifts at every stage.
This guide covers the full picture: gear by experience level, clothing that won’t hold you back, and a training structure that actually builds progress rather than just burning you out.
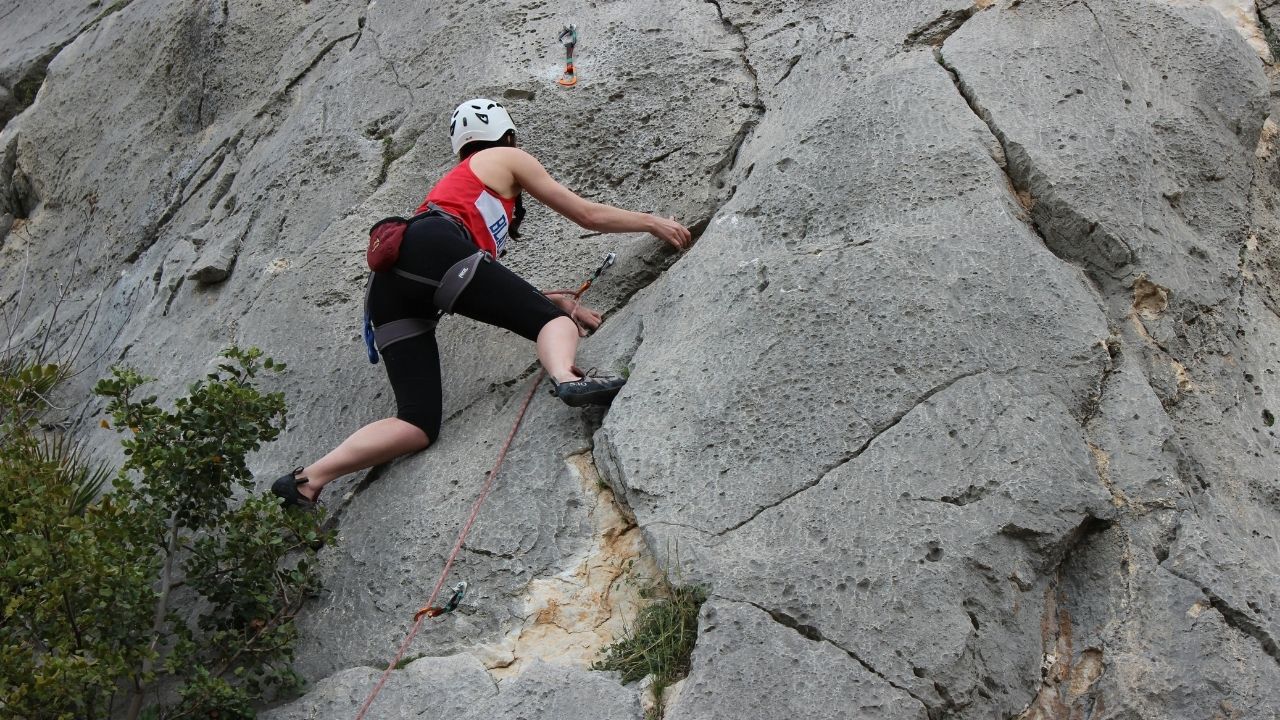
What the Rock Climbing Training Routine Actually Covers
The short answer is this: a complete rock climbing training routine has three layers: gear, clothing, and structured practice time. At the beginner stage, that means a handful of borrowed or rented essentials and two to three days a week on the wall. At the intermediate level, you’ll own your own kit, move outdoors, and start adding supplementary strength work. Advanced climbers follow periodized training blocks, use fingerboards, and manage load across multiple sessions per week.
Getting all three layers right at your current level is what separates consistent progress from spinning your wheels (or getting injured).
Gear You Need at Each Stage
Starting Out: What the Gym Provides vs. What You Should Own
Most climbing gyms rent everything you need for a first visit: climbing shoes, harness, chalk bag, and belay device. That’s genuinely all you need for session one. Don’t rush to buy gear before you know you’ll stick with it.
Once you’ve confirmed you’re coming back regularly, the first things worth owning are climbing shoes and a chalk bag. Rental shoes fit poorly, wear down faster, and often perform worse on technical footwork. A well-fitted pair of beginner shoes (neutral or slightly flat profile, not aggressively downturned) makes a noticeable difference in how you learn foot placement. For the chalk bag, it’s a personal preference item, but having your own means it’s always stocked.
The next logical purchase is a harness. A basic sit harness runs $40-70 and fits more reliably than rental stock. From there, if you’re moving into top-rope or lead climbing beyond the gym’s loaner gear, add a locking carabiner and a belay device (tube-style ATCs and auto-locking GriGris are the two most widely accepted in gyms).
Intermediate: Outdoor Climbing Adds to the List
The jump to outdoor climbing changes your gear needs significantly. A helmet becomes non-negotiable; rock fall, loose debris, and unexpected tumbles all justify it in ways that gym walls don’t. Outdoor-specific shoes (often slightly more aggressive than your gym pair) and a personal rope (9.8mm is a widely used, durable diameter for sport climbing) come into play once you’re leading outdoors regularly.
For sport climbing at a crag, you’ll also want a set of quickdraws to clip bolts, plus a more comprehensive chalk setup (liquid chalk is popular for its staying power on longer pitches). A small daypack or crag bag holds your layers, water, snacks, and extra gear without the bulk of a full mountaineering pack.
Some intermediate climbers heading into more technical terrain also invest in custom climbing equipment: compression layers, personalized chalk bags, and team gear kits that hold up to regular use outdoors.
Advanced: Training-Specific Tools
Advanced climbers add a fingerboard (hangboard) to their home or gym setup. This is a purpose-built grip-strength tool mounted at a doorframe or wall, used for structured hanging protocols rather than just pulling up on holds. It’s not a beginner tool, and most coaches suggest waiting until you’ve climbed consistently for at least 12-18 months before using one, as tendon tissue takes time to adapt.
A foam roller, resistance bands for antagonist muscle training, and a training log (even a basic notebook) round out the advanced climber’s kit. Tracking your sessions helps you identify overtraining early, see where you’re improving, and adjust volume intelligently.
What to Wear to Every Session
The Clothing Logic for Climbing
The single rule is: nothing that limits your range of motion. Climbing requires high steps, wide hip positions, and shoulder reach that standard gym clothing can fail to support. Beyond that, you want fabric that breathes and doesn’t bunch against the wall.
For bottoms, stretchy leggings or athletic tights are the most popular choice because they move with you and don’t snag on holds. Tapered joggers work well too, as long as the ankle isn’t loose enough to catch underfoot. Regular jeans, unless they’re a high-stretch denim blend, are generally too restrictive for anything technical. Longer shorts (mid-thigh or below) are also a reliable option and protect your knees during high-step sequences.
For tops, fitted is better than baggy. A moisture-wicking T-shirt or tank top handles the physical demand; avoid anything with excess fabric at the torso since it can catch on handholds or obscure your view of your feet on the wall. In cooler gyms or during rest periods between climbs, a lightweight hoodie or zip fleece is worth having in your bag.
Footwear and a Note on Socks
Off the wall, wear slip-on shoes or sandals around the gym. This keeps your climbing shoes from picking up dirt from the floors, which transfers to holds and reduces friction for everyone. Most climbers go sockless in their own shoes for better sensitivity and feel; if you’re renting, thin liner socks are a practical hygiene option.
Outdoor Climbing Adds Layers
For outdoor sessions, layer up. Temperature at the crag can be unpredictable, and you’ll cycle between active climbing and waiting at the base. A lightweight windbreaker, a warm hat for shady belays, and sun protection on exposed rock all earn their place in the pack.
How to Structure Your Training Week
Building the Base: Beginner Sessions
A good starting point for beginners is two climbing days per week with at least one full rest day between them. The focus at this stage should be almost entirely on technique, not strength. Beginner climbers improve fastest by climbing a wide variety of routes at comfortable grades, not by grinding on problems that are too hard.
A standard session structure: 15 minutes of warming up on easy routes, 45-60 minutes of intentional climbing (try new movement patterns, focus on footwork, don’t rush), and a cool-down stretch targeting forearms, shoulders, and hips. One of our team spent her first three months almost entirely on 5.8-5.9 routes and found that the variety of different wall angles and hold types built more usable strength than trying to red-point harder grades early.
Intermediate: Adding Structure to Climbing Days
Once you’re climbing at a solid intermediate level (roughly 5.10-5.11 indoors, or comfortable with outdoor sport climbs), a three-day-a-week structure becomes effective. Two of those days can focus on climbing itself, and one on dedicated supplementary work: pull-up variations, core exercises, and antagonist training (wrist extensions, shoulder external rotation work) to offset the pulling-dominant demands of climbing.
One session per week is a good time to introduce “limit bouldering”: spending time on problems at or just above your flash level. Keep attempts brief (three tries per problem is a useful cap) and rest fully between burns. The goal is quality recruitment, not volume.
ARC training (Aerobic Restoration and Capillarization) is another useful tool here: 20-30 minutes of continuous, easy climbing at 40-50% effort, moving smoothly without rest. It builds endurance and helps you recover faster between hard moves.
Advanced: Periodization Matters
For advanced climbers, following unstructured “just go climb” sessions for months at a time typically leads to plateaus. A periodized approach breaks your training year into focused phases: base endurance, strength (hangboard, limit bouldering), power (dynamic movements, campus rungs for those at that level), and power-endurance (sustained hard climbing), followed by a peaking phase before a trip or goal route.
Block periodization works well for breaking plateaus but requires careful management. Non-linear periodization, training multiple qualities within the same week while emphasizing one, suits climbers who need to maintain broad fitness year-round. For anyone planning a structured season, reading up on building a consistent training routine translates directly to how you sequence and schedule climbing blocks.
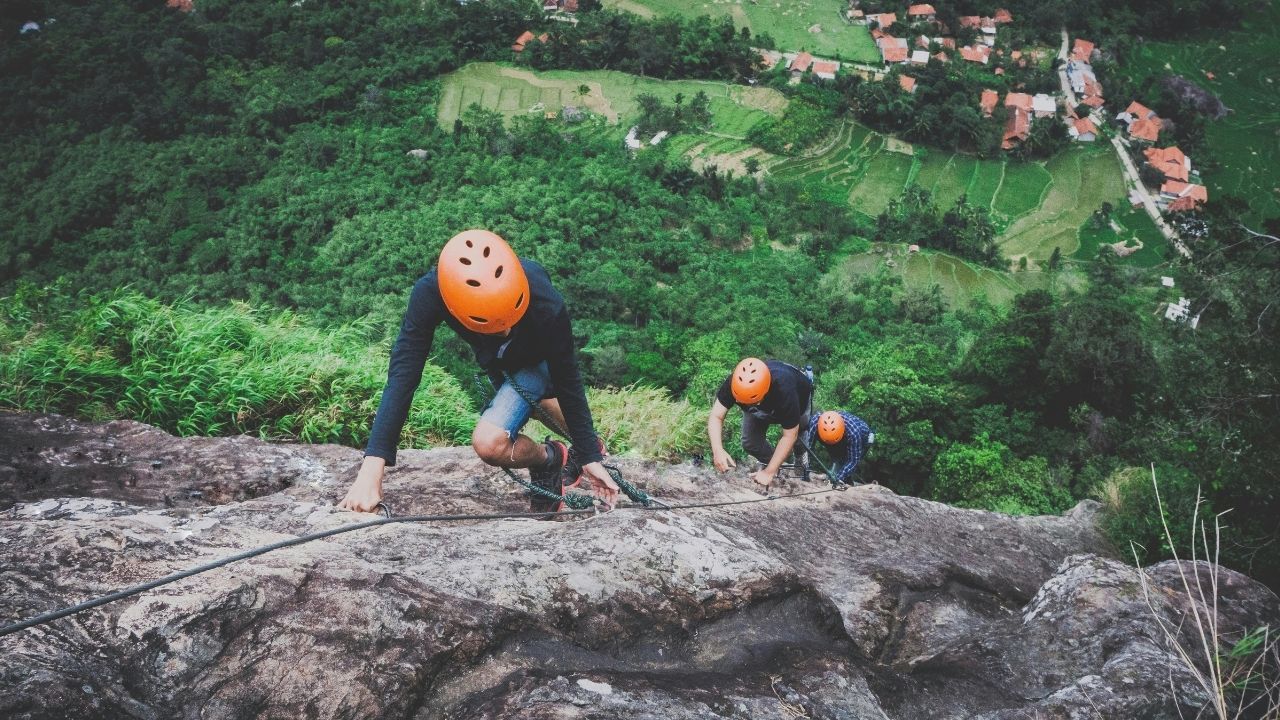
Where Climbers Most Often Go Wrong
Skipping the warm-up. The climbing community has largely figured out that jumping straight onto hard routes without warming up is one of the most reliable ways to end up with a finger injury. At minimum, 20-30 minutes of easy climbing before anything hard is a reasonable standard. A few minutes of tendon glides, light resistance band work, and dynamic shoulder movement takes it further.
Overloading fingers before tendons adapt. Muscles respond to training faster than tendons and pulleys. That gap between what your muscles feel capable of and what your connective tissue can handle is where most climbing finger injuries occur. Beginners especially should resist the pull of hangboards; the risk-to-reward ratio before 12-18 months of consistent climbing doesn’t hold up.
Cramming too many sessions into the week. Climbing two days in a row occasionally is fine; making it a consistent pattern without adequate recovery tends to compound fatigue and elevate injury risk. Strong sport climbers generally train every other day, not every day. Listen to what feels like normal muscle soreness versus what feels like joint or tendon pain. They aren’t the same thing.
Ignoring footwork in favor of pulling harder. A large portion of beginner and intermediate progress comes from learning to trust your feet, not your arms. Climbing is much more efficient when you drive upward through leg extension. Drills like “quiet feet” (placing each foot slowly and precisely without scraping) and “straight arms” (keeping arms extended to reduce fatigue) address this directly.
Showing up at peak hours for endurance work. ARC training and mileage-building requires continuous movement on the wall. Doing that during a crowded evening session isn’t practical or considerate. Lower-traffic hours or dedicated wall traverses (horizontal movement, back and forth) work much better.
Building the Habit That Gets You Stronger
The most consistent predictor of climbing improvement is showing up regularly over months, not how hard any single session was. Two well-structured sessions per week, sustained over six months, will produce more progress than three chaotic ones with no recovery strategy.
Track your sessions, even loosely: what you climbed, how your fingers felt, and what you’re working on. This makes overtraining visible before it becomes an injury, and it helps you notice patterns in your progress.
Rock climbing rewards the patient approach. The climbers who improve fastest are usually the ones who’ve learned to read their body’s signals, respect rest days, and stay curious about movement rather than fixating on grades. Your gear, your clothing, and your training structure all support that foundation, but the foundation is consistency itself.

